
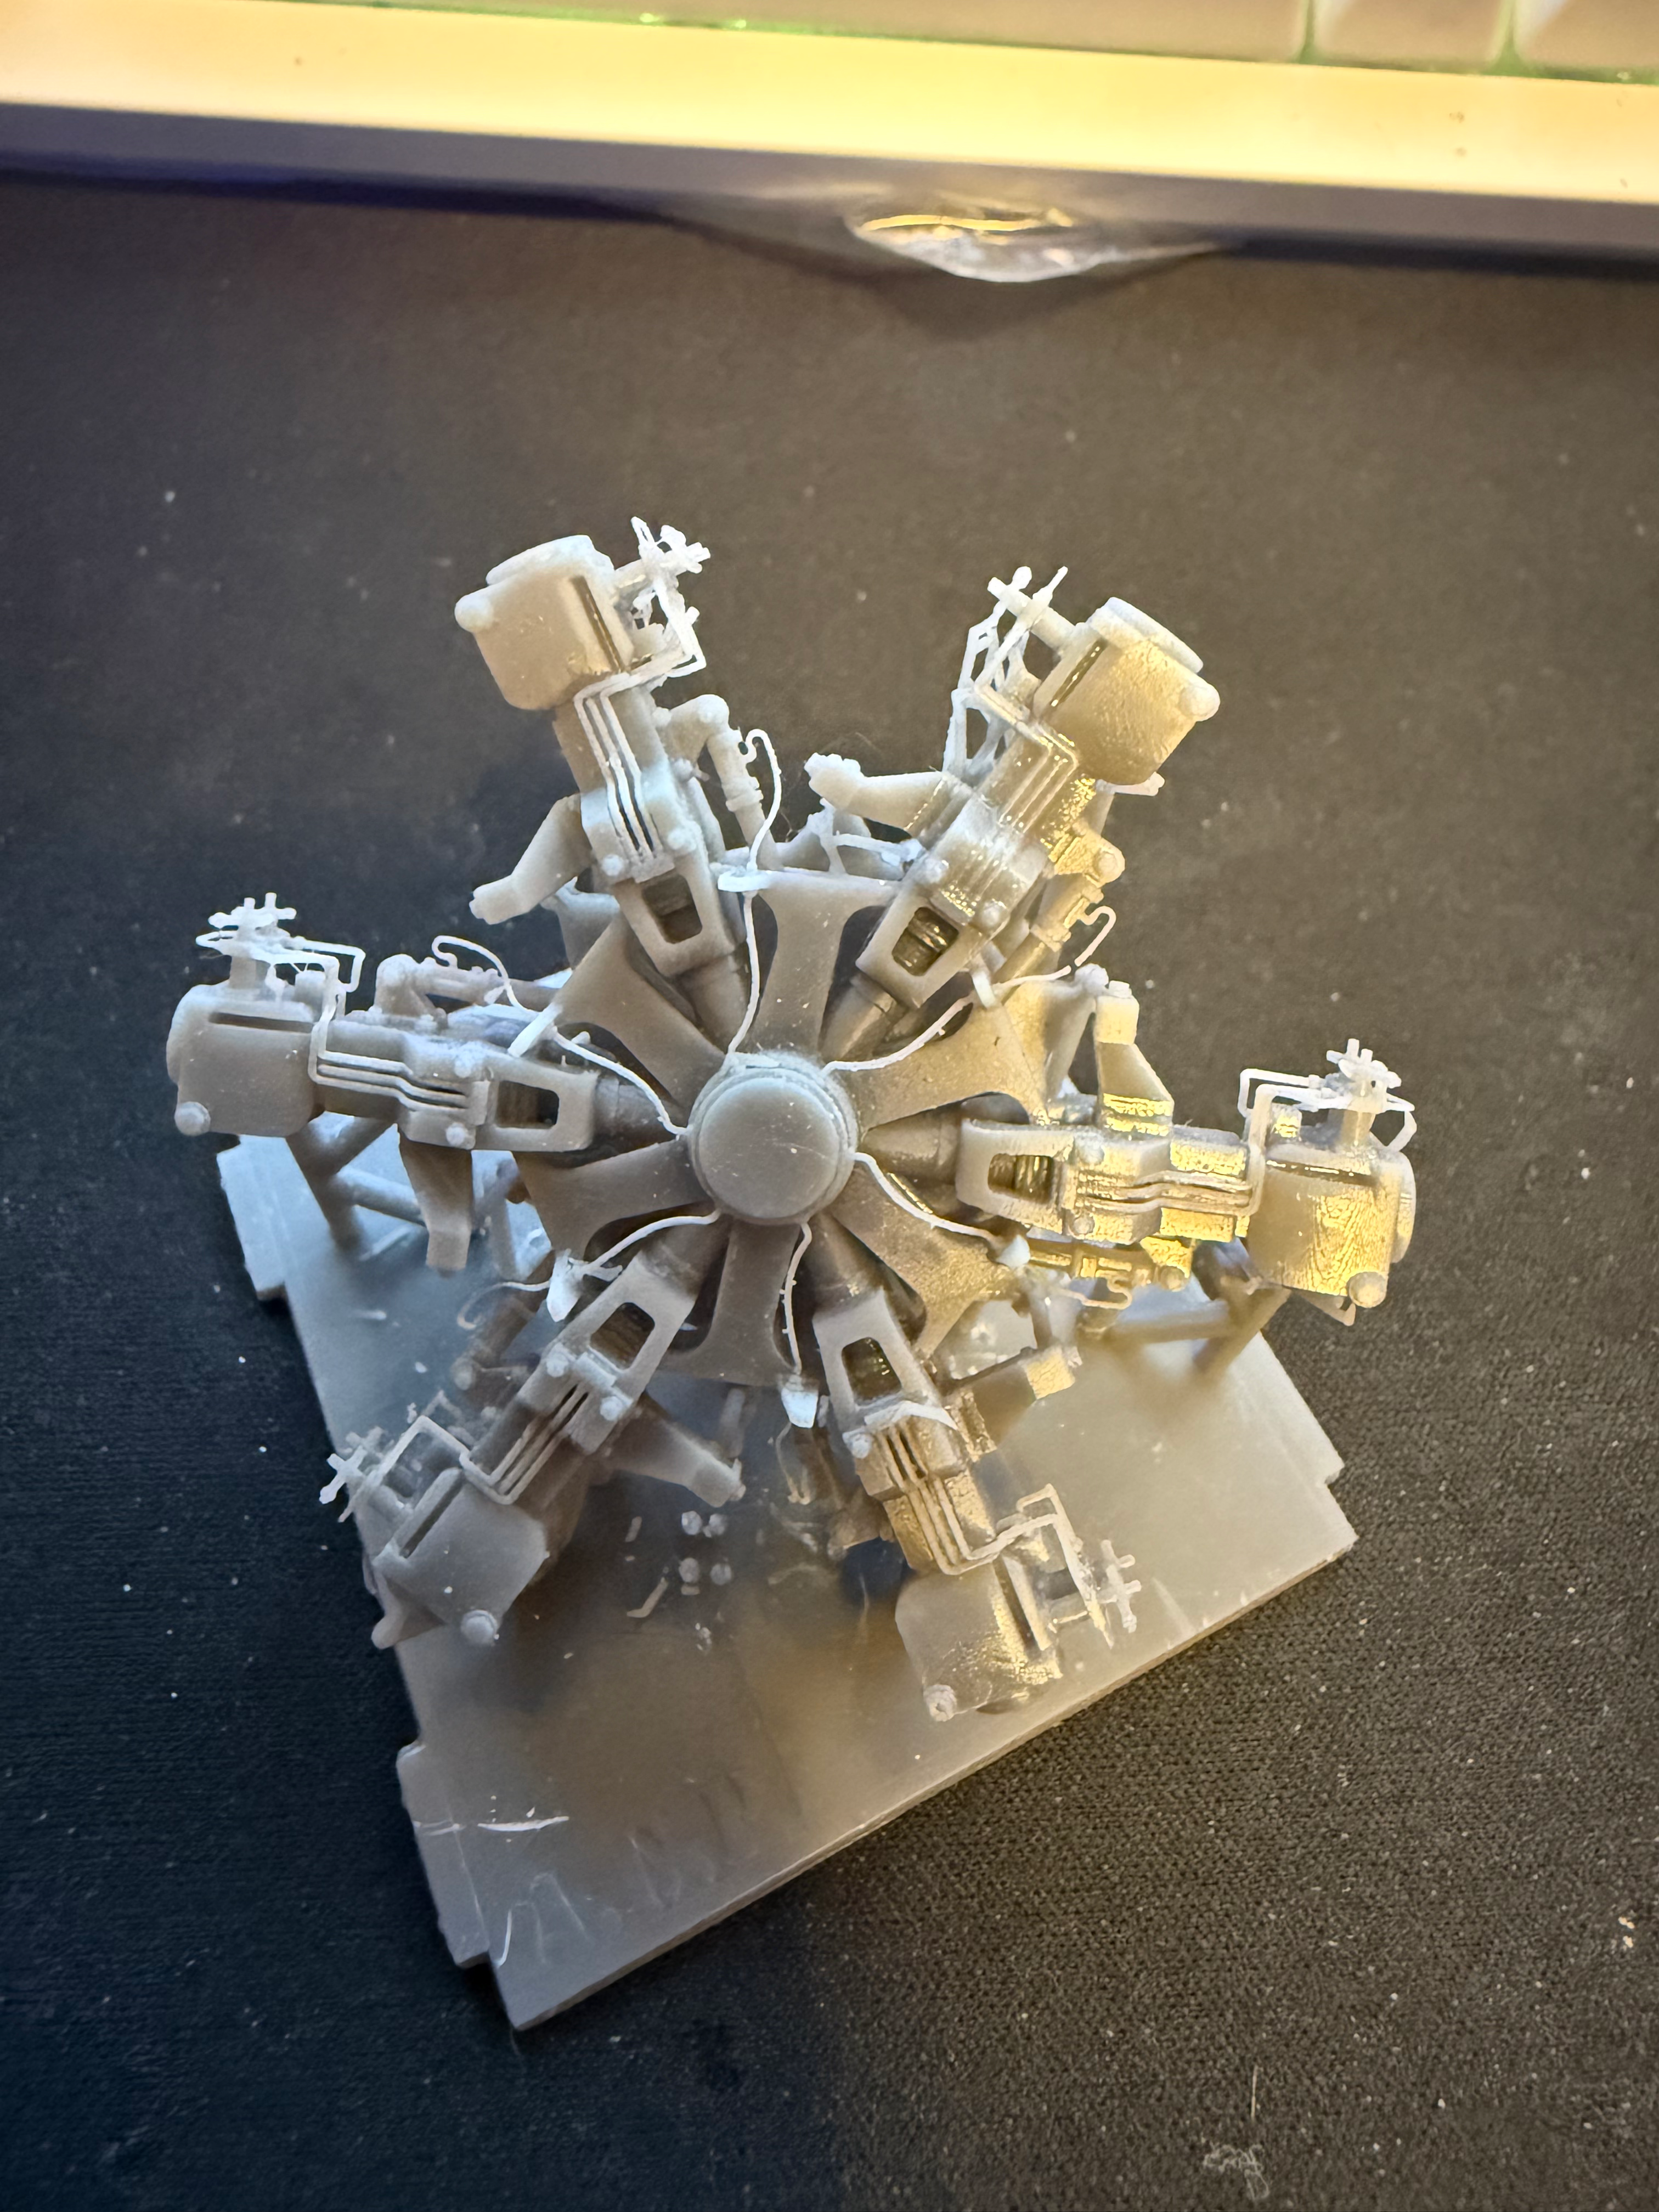

Detailed main rotor head and cap set for CH‑53 and MH‑53 helicopter models. This 3D printed rotor hub replaces the simplified kit part and captures the complex structure at the top of the transmission and main rotor system.
Full product description
This Black Ops 3D set provides a detailed main rotor head and cap for CH‑53 and MH‑53 heavy‑lift helicopters in 1/48 and 1/72 scale. The kit parts in many CH‑53/MH‑53 releases simplify the rotor head, losing much of the bracing, linkages, and cap detail that make the real rotor system so distinctive.
Our replacement rotor head captures the key components at the top of the transmission, including the hub, pitch change links, and structural elements, plus the fairing/cap that sits over the assembly. It is ideal for models posed with blades spread where the rotor head is a focal point, or even with blades folded, where the hub and cap remain clearly visible.
Key features
main rotor head and cap set for CH‑53 and MH‑53 helicopter models.
Detailed rotor hub structure with linkages and bracing that go far beyond typical kit parts.
Separate cap/fairing part to reproduce the distinctive “crowned” look of the H‑53 rotor head.
High‑resolution 3D printed parts designed to respond well to washes and dry‑brushing.
Complements our CH‑53/MH‑53 engines, EAPS, recovery winches, and weapon station sets for a fully upgraded heavy‑lift helicopter.
Compatibility
Intended for CH‑53 and MH‑53 kits representing early Sea Stallion and Pave Low‑series aircraft. Suitable for common Revell and Academy‑based kits; may require minor fitting or shimming depending on the original rotor mast and blade‑attachment design.
If the set is specifically for 6‑blade (2‑engine)
Designed to represent the 6‑blade early CH‑53 rotor head as used on [specific variants], with correct hub proportions for that configuration.
Installation and use
Carefully remove the kit rotor head from the mast and clean the mating surface. Test‑fit the Black Ops 3D rotor head onto the kit mast, drilling or sleeving as needed to ensure a strong connection that can support the blades. Once aligned, glue in place with CA or epoxy. Attach the kit or aftermarket blades to the new hub, making sure pitch and droop look consistent. Fit the cap/fairing over the top of the hub as instructed, then prime and paint the assembly in your chosen scheme, using washes and dry‑brushing to pick out the detail.